A week later than I had thought, though I noticed no one was beating my email doors down to get to the second part of the WIP on my Pastel painting.
Before we get in to the final part of the demo, I would like to point out that this painting is currently hanging through the end of March at Paxton's Bar & Grill in Loveland, OH. And, yes, it is for sale!
 | |
| Stage Seven |
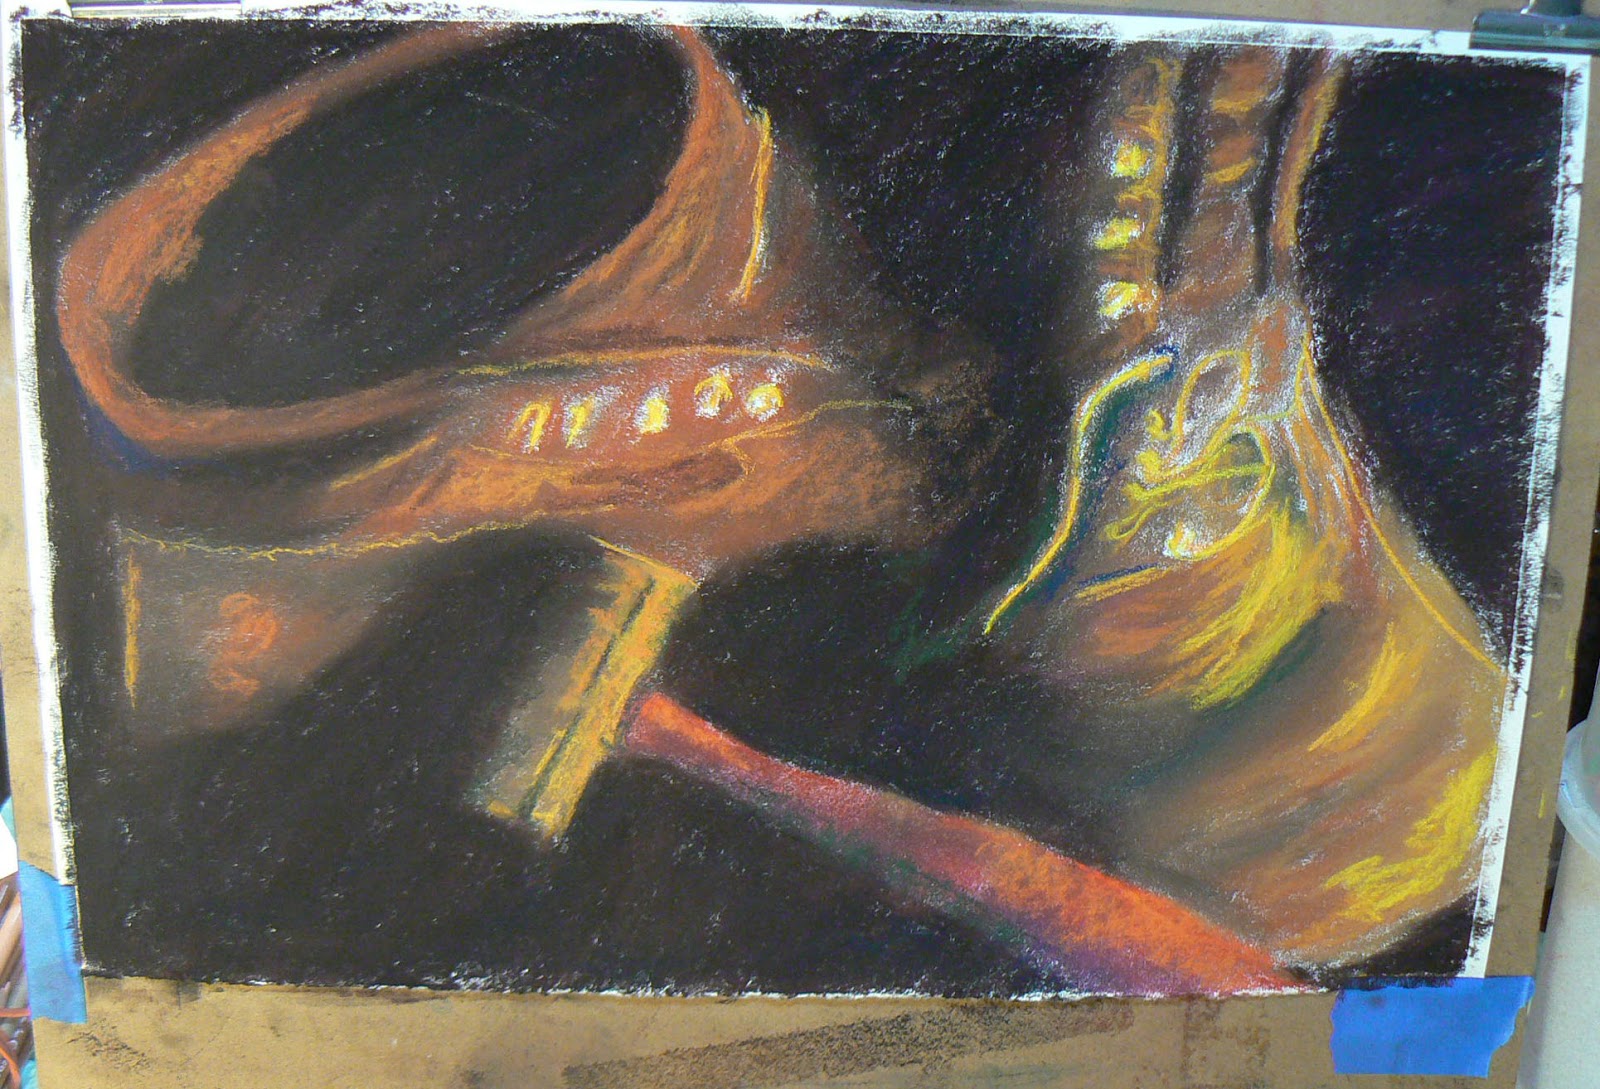
The mid-range softness in pastels, for me at least, are the Rembrandt brand. You can generally find them in open stock as well as in half-stick sets.
In Stage Seven, I began applying the Rembrandts -- yellows and oranges, and you might even detect there is some green in the shadow areas. I was hoping to give the shoes, and the background as well, a little more contrast or depth. I applied orange along the handle of the hammer and again, on the side of the left boot.
 |
| Stage Eight |
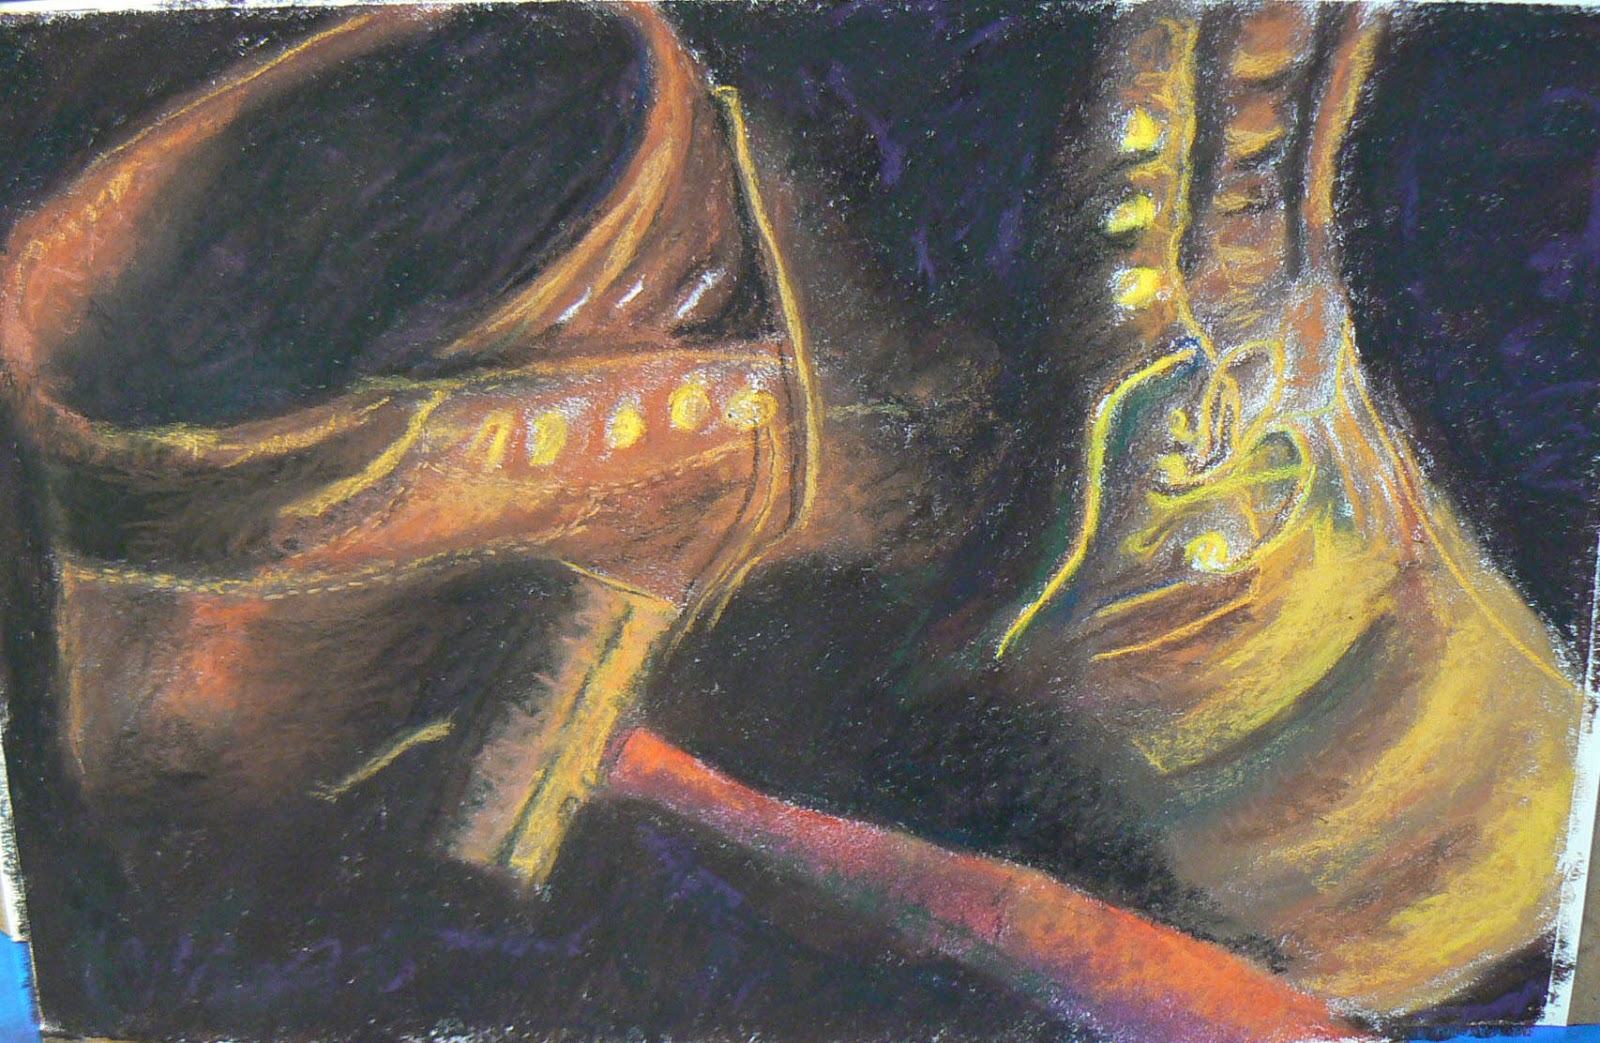
Just as I said I try to avoid finger blending, I realized that I wasn't completely satisfied with the depth of the background, so I added some softer purple in various places. I knew when I added it that I was going to have to blend it. But that is part of the process of your work. You have to push and pull, add-subtract to get to where you want your work to go.
You might also note that I have begun blending the reflection on the right shoe as well. That was done with the pastels. At this stage, I was moving back and forth between the Rembrandts, and the two softer brands that I prefer using -- Unison and Great American Pastels.
 |
| Stage Nine |
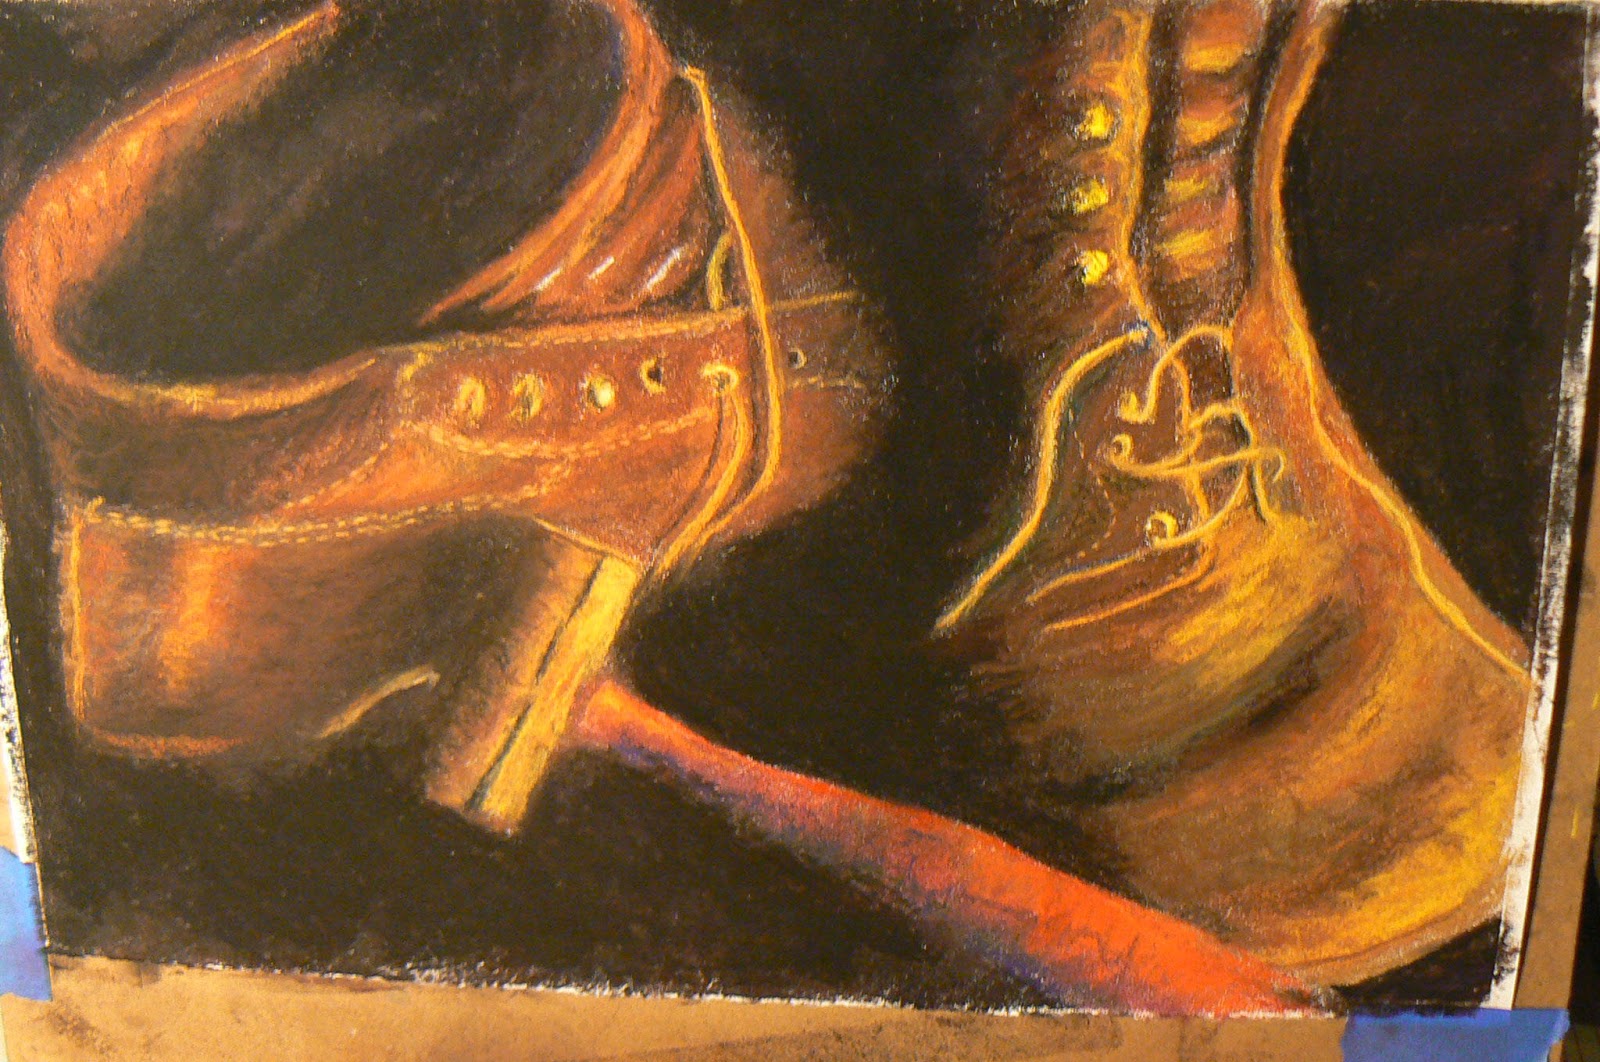
I toned down the colors. The previous layering was done intentionally to make sure the highlights were where I wanted them. I also knew that they were too harsh. The other thing that was bugging me was the way the shoe string draped the right boot. It made it too complicated originally. Keep it simple. So I eliminated part of the lacing. I also started work on more details, such as the eyelets.
 |
| Stage Ten |
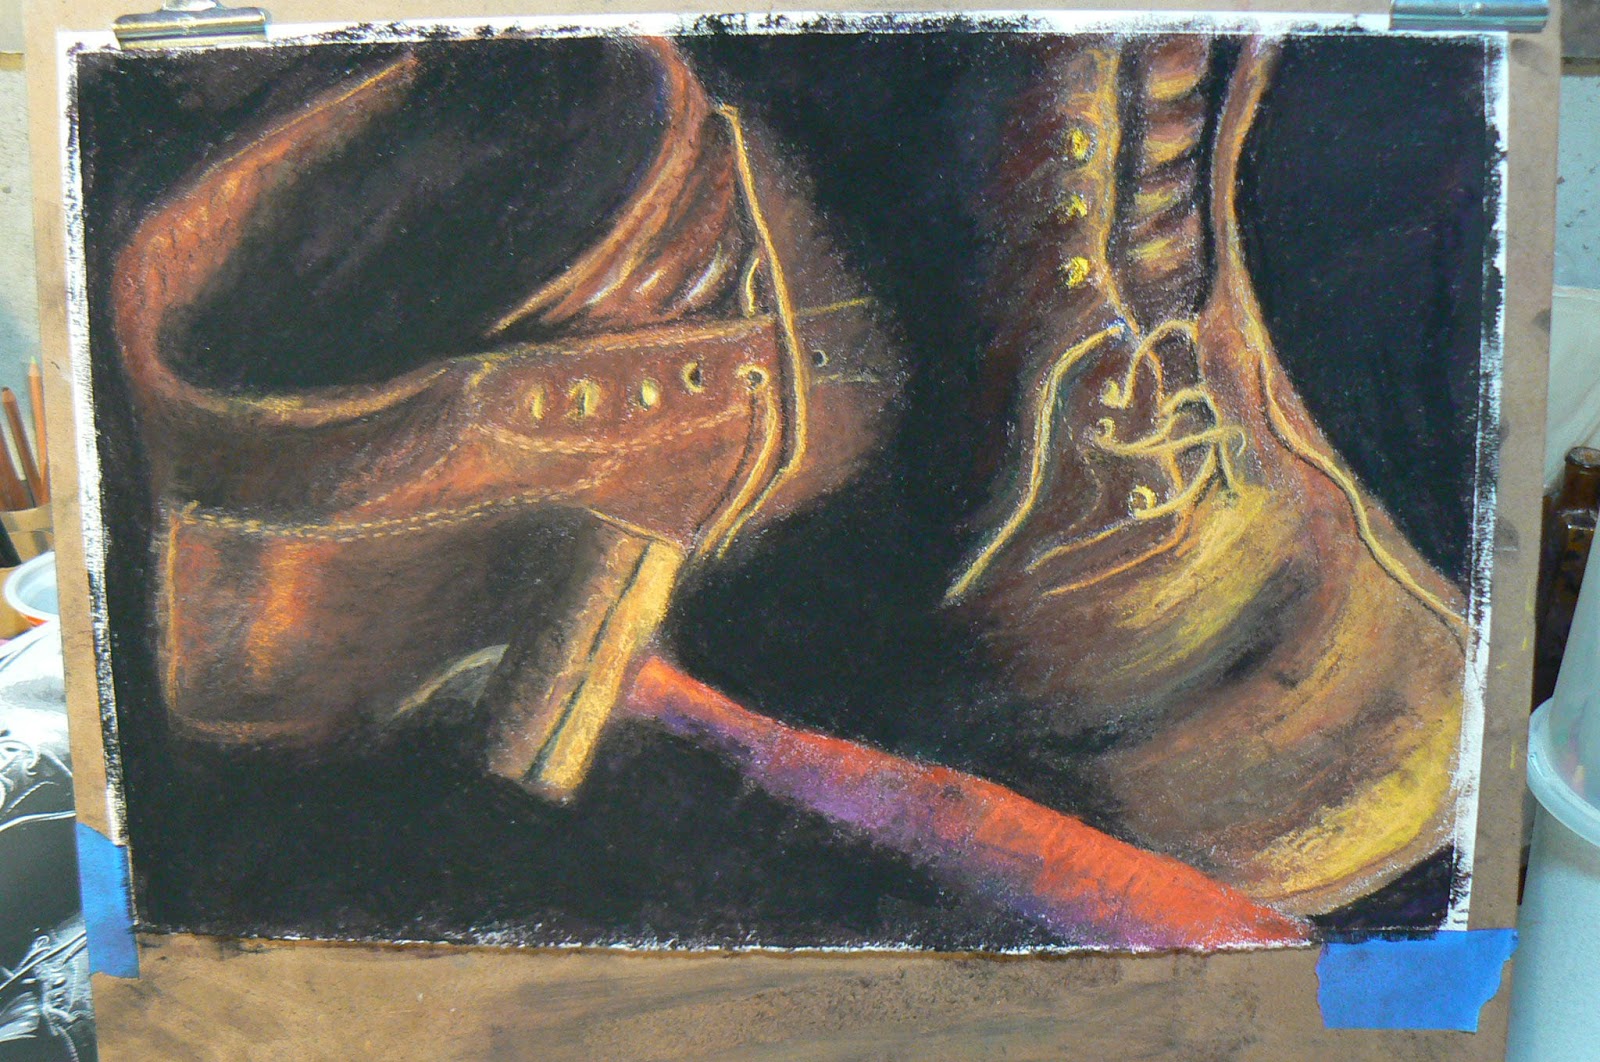
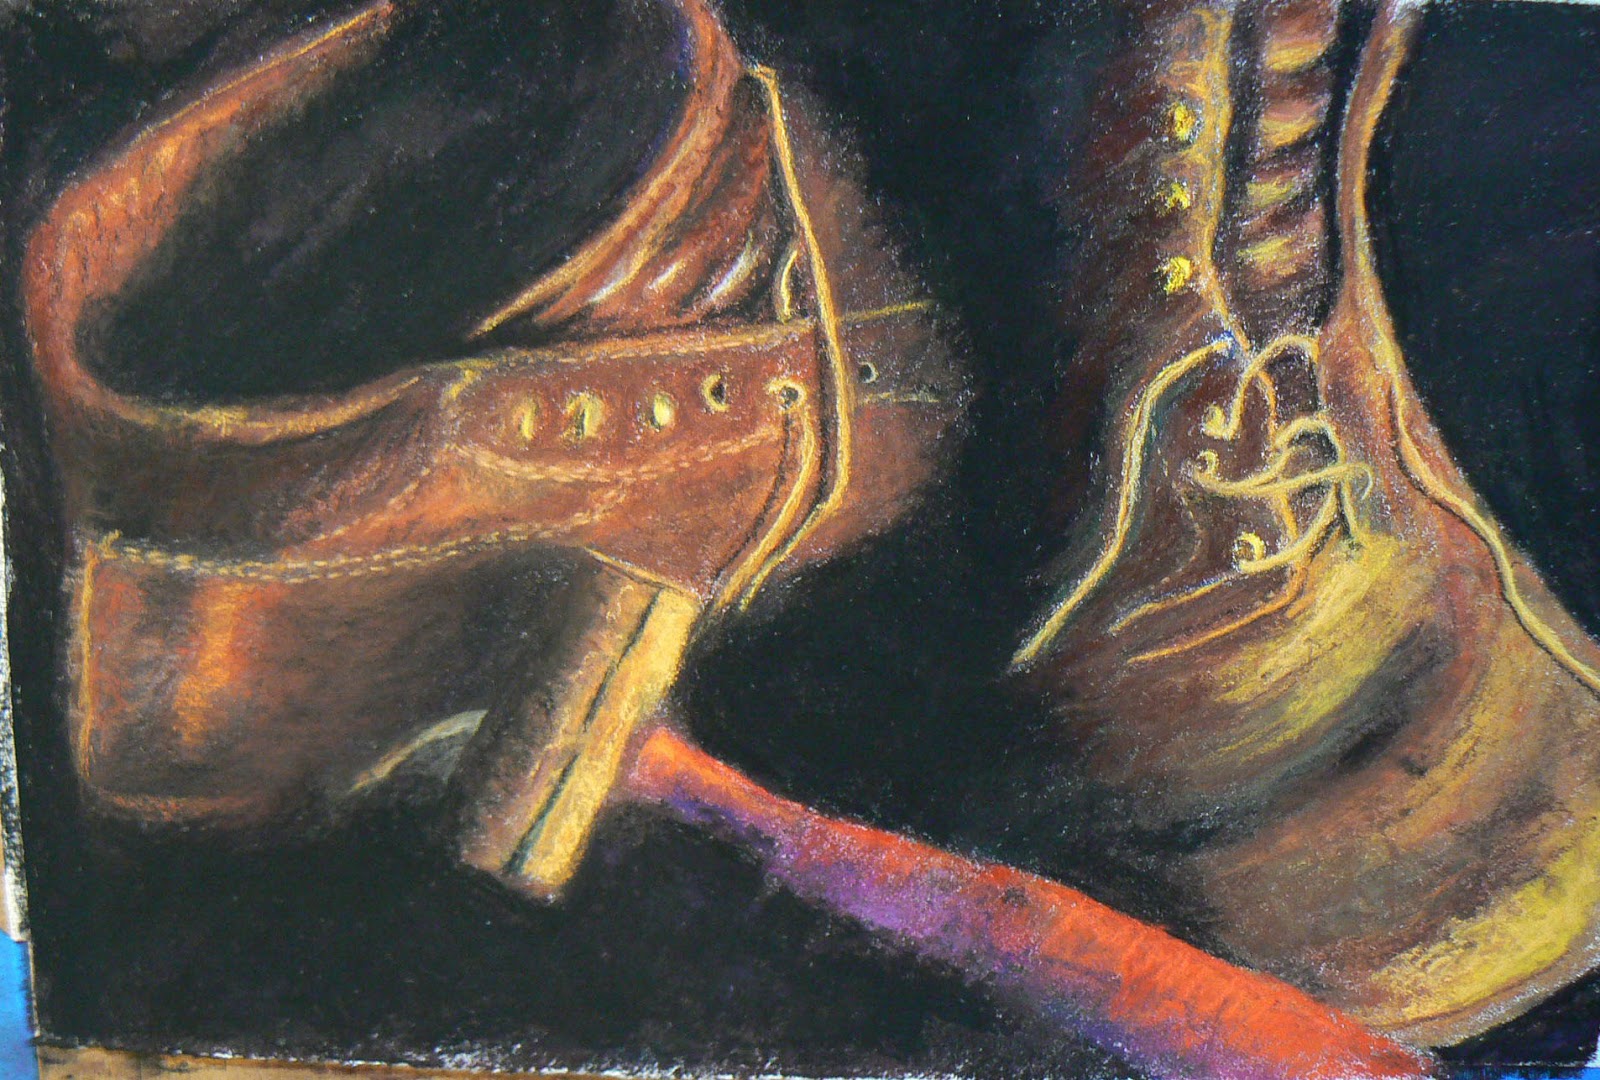
Again, more detail work with various sticks. On some of the finer detail work, I went back to the NuPastels because I could get a finer point on the end of the stick. I also sprayed the painting at this point with a fixative. I used Latour fixative by Sennalier. I made a couple passes over the paper from about three feet away.
There are various schools of thought on using fixatives with pastel work. Many pastels artists do not like to use fixatives because they believe it has a negative impact on the vibrancy of the colors. In my case, I actually wanted to tone down the colors in addition to sealing the pastels to the surface.
 |
| Stage Eleven |
Now I am really working more on details and fixing things that I feel needed work. I still wasn't completely satisfied with the crack in the head of the hammer. Nor did I feel the hammer showing the contour and shape of the handle. I also touched up the leather again to make sure it was dark where I wanted it (on the right shoe) and more glowing on the left shoe.
 |
| Fini! |
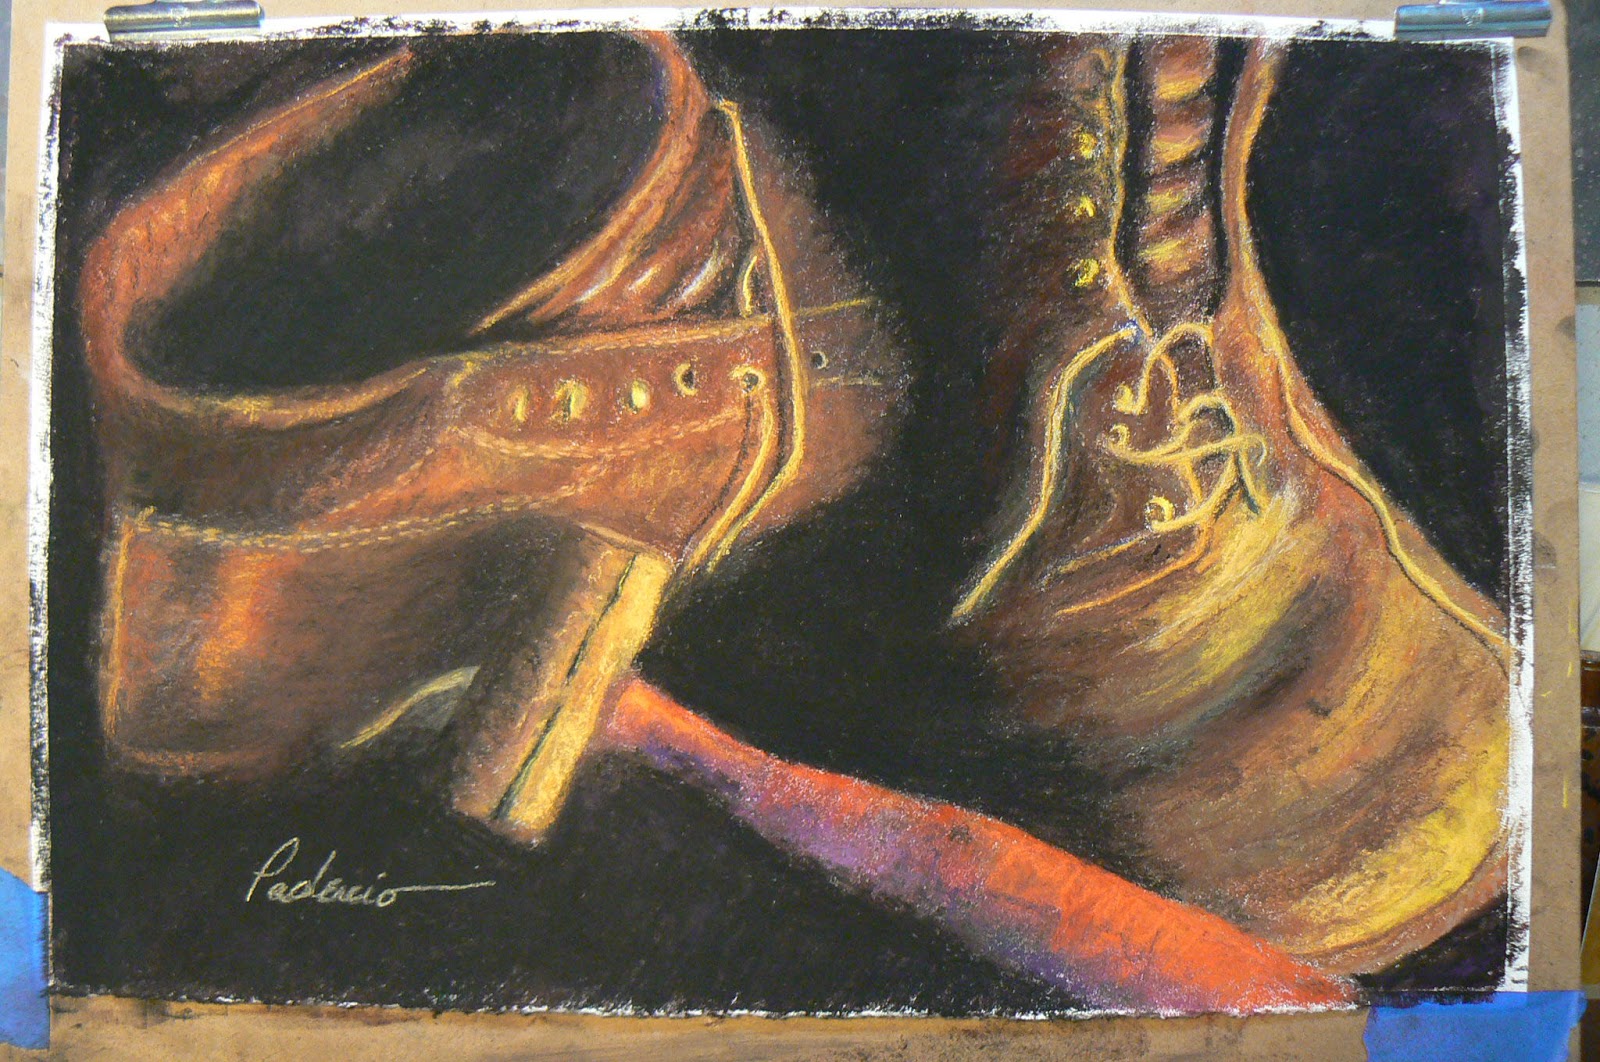
With the softest pastels I have, the Great American brand, I began tapping on the surface of the paper where I wanted highlights. Using the same pastels, I dragged them across the surface very lightly to add some last minute color.
When I was finally satisfied with the product, I applied my signature.
The final step in the process is to get a sheet of glassine paper. It looks a lot like wax paper only without the heavy wax side. I placed the glassine paper over the top of the painting, then I got a soft-rubber brayer and, applying solid pressure, rolled the brayer over the top of the glassine paper. This pressure helps adhere the pastel to the surface and helps prevent on dust falling off the painting after you get it framed.
I know I should have taken a photograph of the painting in the frame. If the painting doesn't sell, then I will make sure I get that done and will post it on the blog.
When you are framing a pastel painting, you should always make sure you use spacers between the painting and the mat. The mat board itself should be reverse-beveled. You do both of those things to allow pastel dust to drop down behind the mat and not inside the glass atop the mat board. You don't want to see pastel dust collecting at the bottom of your framed artwork.
I certainly don't think this is the definitive process in pastel painting and I am far from an expert. The purpose of his demo-WIP was to show how I did this particular painting, what steps were involved and what I was thinking as the process was going along.
I certainly hope this is helpful to those who might be reading this and are wondering about working in pastels. There are many excellent books on the subject. The book many acknowledge as "the Bible" on pastel painting, however, is The Pastel Book by Bill Creevy.
Hopefully, I will be able to maintain the promised weekly schedule on my art blog. Next week, I will feature one of my favorite colored pencil artists in John Smolko.
Till, then -- Keep Arting!
No comments:
Post a Comment